Pfsense - Configure email notifications
Pfsense - Configure email notifications

Pfsense - Configure email notifications
Would you like to learn how to configure PFSense E-mail Notification Setup? In this tutorial, we are going to show you how to configure PFsense to send notifications using an encrypted connection to Gmail.
• Pfsense 2.4.4-p3
Tutorial - Gmail Integration
First, we need to enable your Gmail account to receive connections from external programs.
Open your browser and access your Gmail account.
In our example, the following URL was entered in the Browser:
On the login screen, enter your Gmail username and password.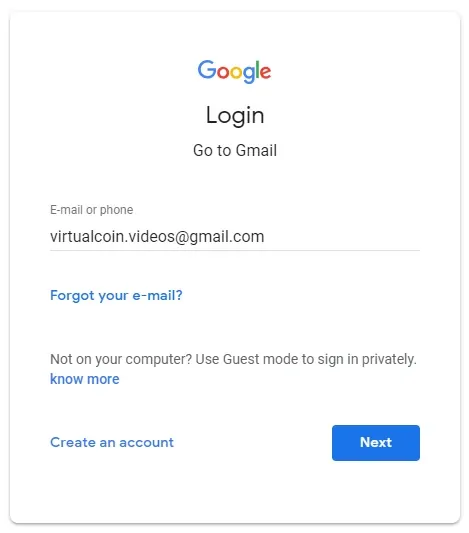
After the login, you need to access the following URL:
• https://myaccount.google.com/signinoptions/two-step-verification
Enable the two step verification on this account.
After enabling the two step verification, you need to access the following URL:
• https://security.google.com/settings/security/apppasswords
Create an application password.
Select the Gmail application and the type of device: Other.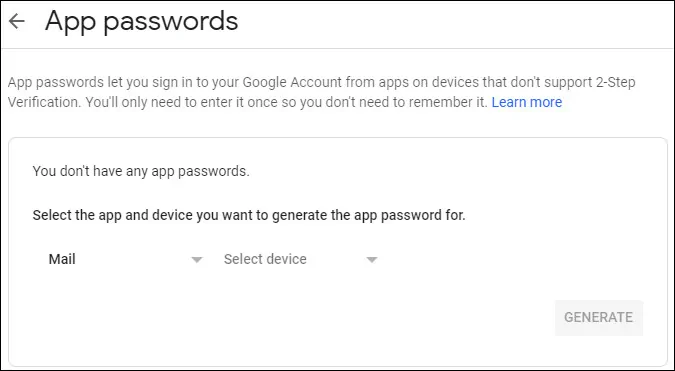
In our example, we named the device pfSense.
Click on the Generate button and take note of the randomly generated password.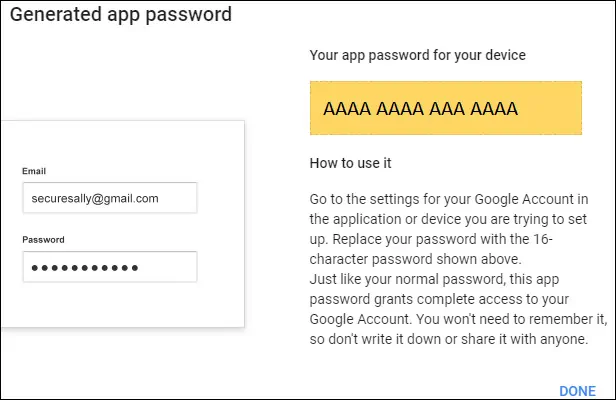
Next, you need to access the following URL:
• https://accounts.google.com/DisplayUnlockCaptcha
Click on the Continue button to enable external access to your Google account.
Now, you need to configure the pfSense email notification feature.
Pfsense - Configure email notifications
Open a browser software, enter the IP address of your Pfsense firewall and access web interface.
In our example, the following URL was entered in the Browser:
• https://192.168.15.11
The Pfsense web interface should be presented.
On the prompt screen, enter the Pfsense Default Password login information.
• Username: admin
• Password: pfsense
After a successful login, you will be sent to the Pfsense Dashboard.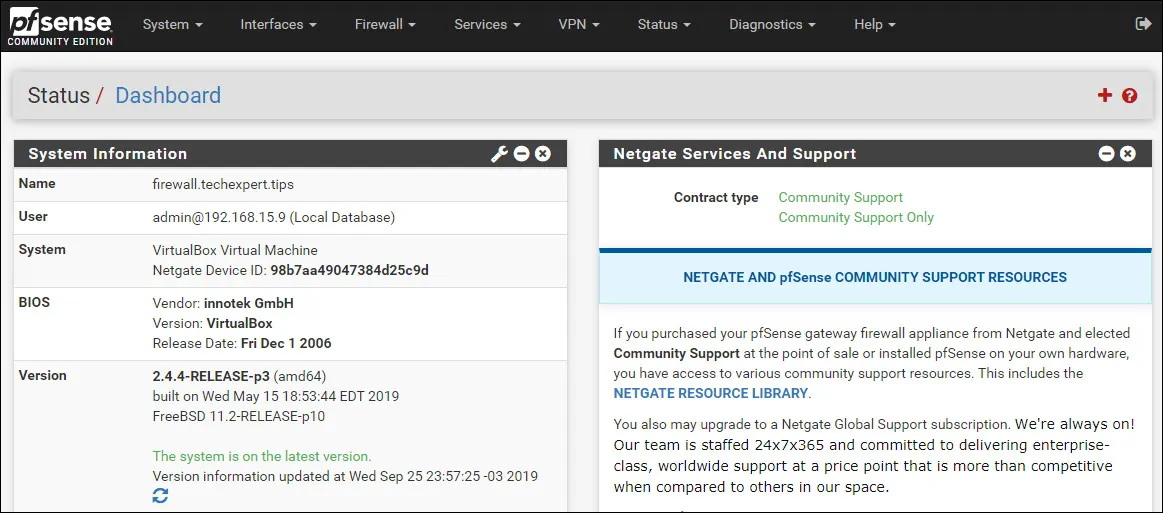
Access the Pfsense System menu and select the Advanced option.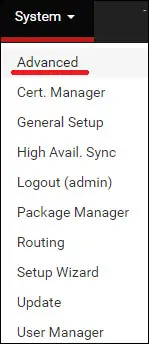
On the top right part of the screen, access the Notifications tab.
On the Notifications tab, perform the following configuration:
• E-Mail server: smtp.gmail.com
• SMTP Port of E-Mail server: 465
• Secure SMTP Connection: Yes
• Validate SSL/TLS: Yes
• From e-mail address: Your gmail account
• Notification E-Mail address: The address that will receive the e-mail notifications
• Notification E-Mail auth username: Your gmail account
• Notification E-Mail auth password: The randomly generated password from Google
• Notification E-Mail auth mechanism: PLAIN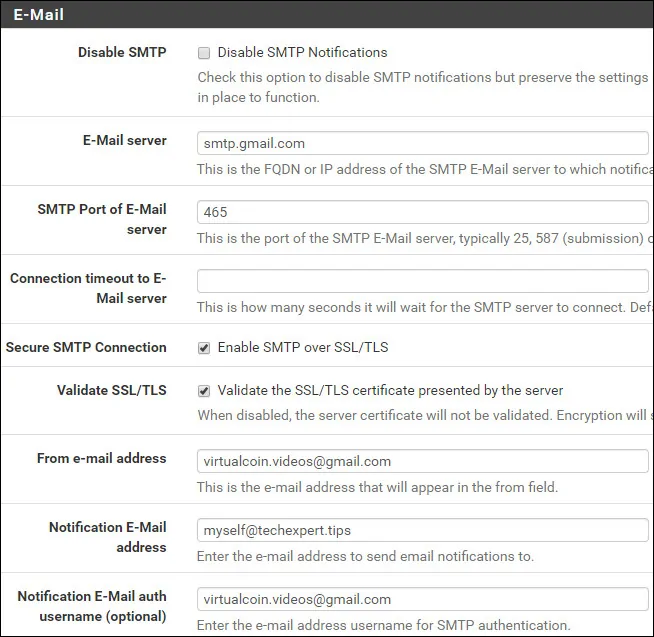
Click on the Test SMTP Settings button to test your configuration.
Verify if the e-mail was received successfully.
Enter again the randomly generated password from Google and click on the Save button.
Congratulations! You have finished the Pfsense Email notification configuration


